Last updated November 20, 2026
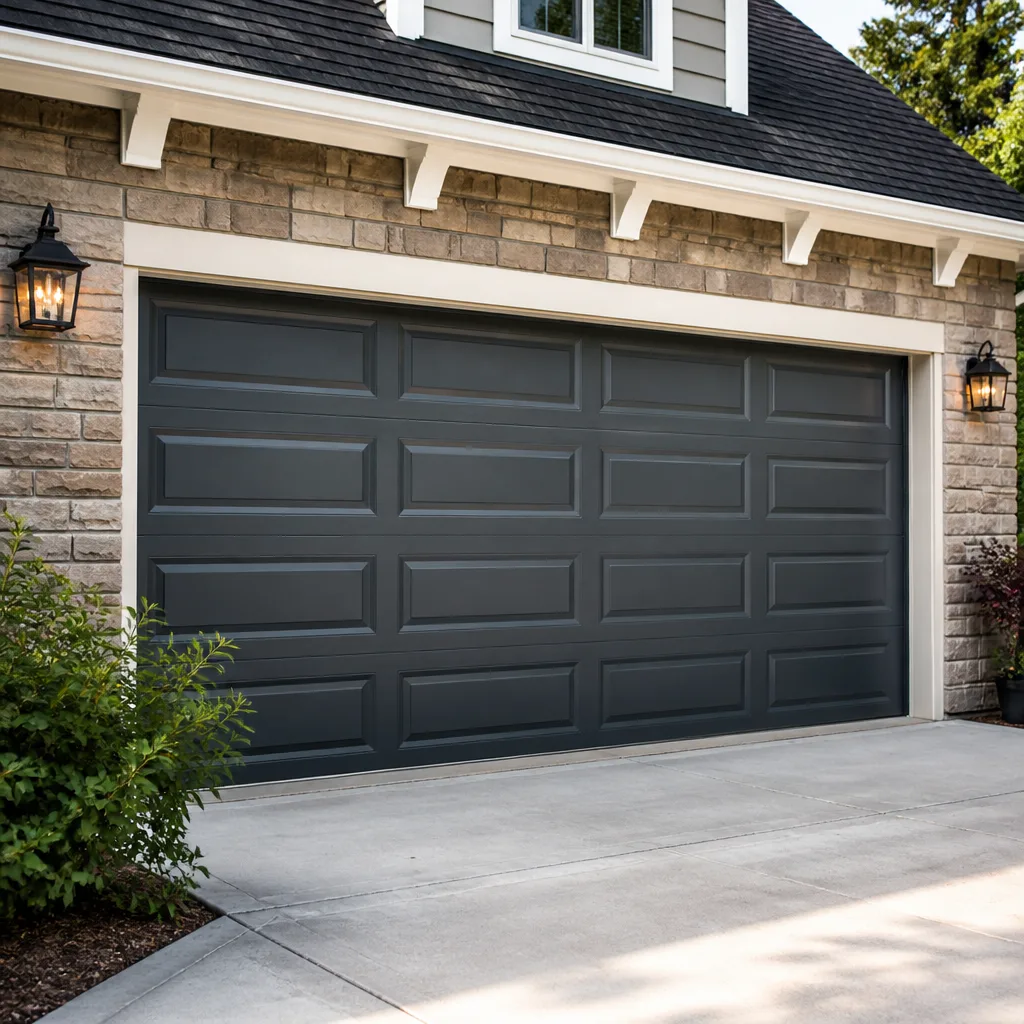 Raised-panel steel
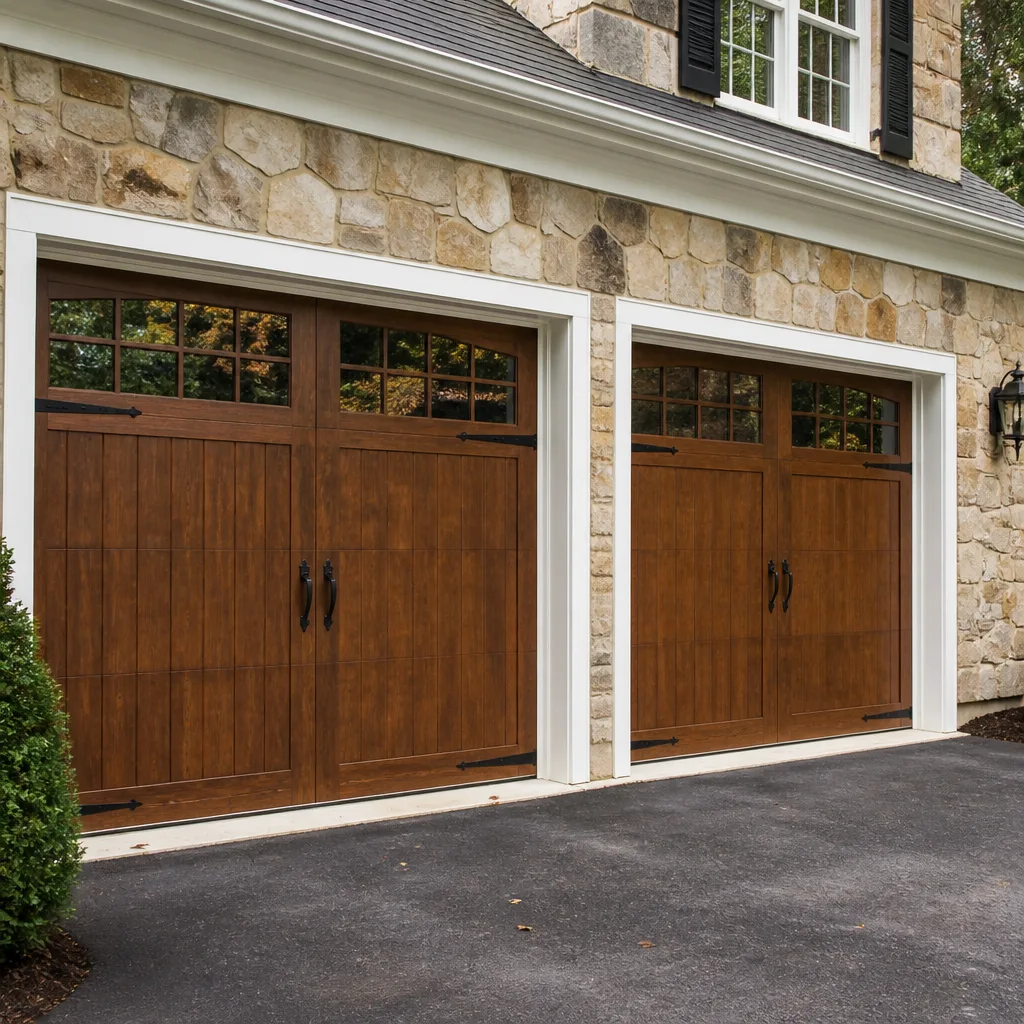 Carriage house
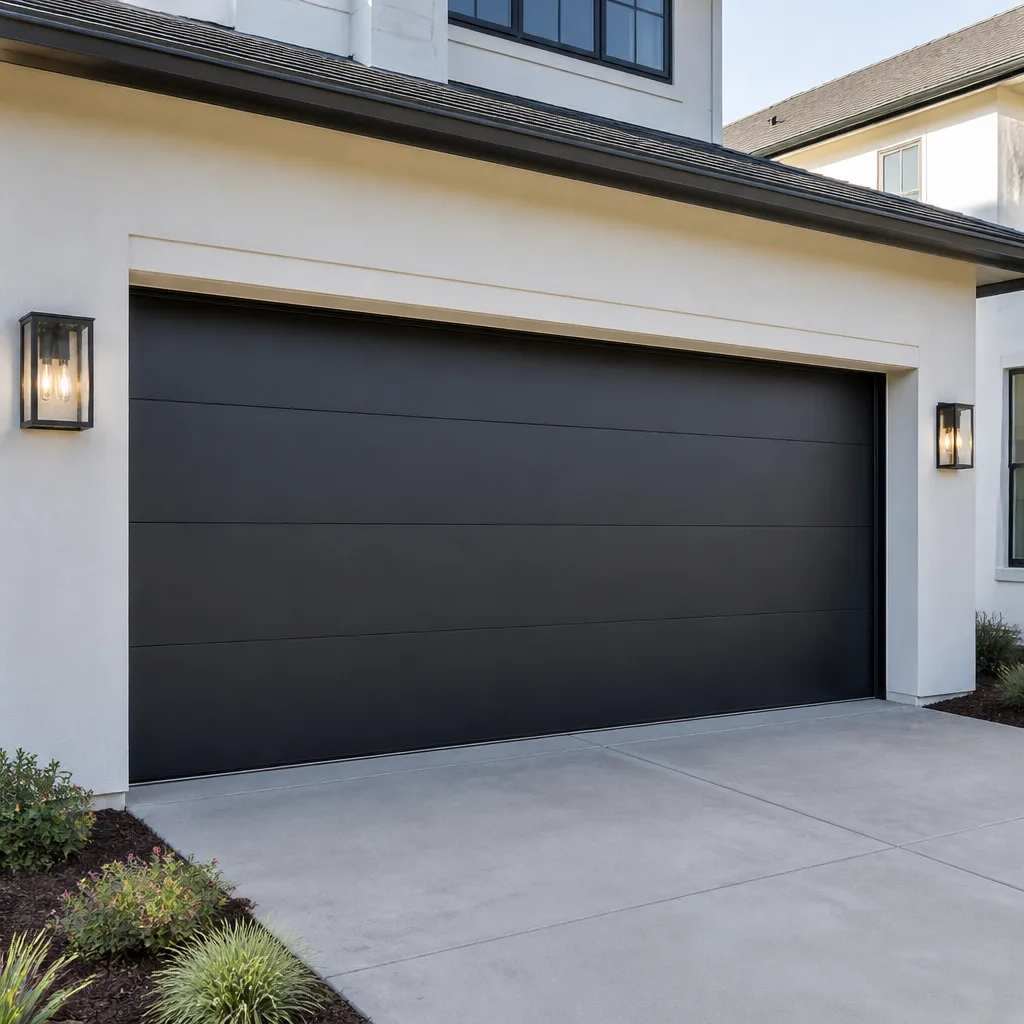 Modern flush
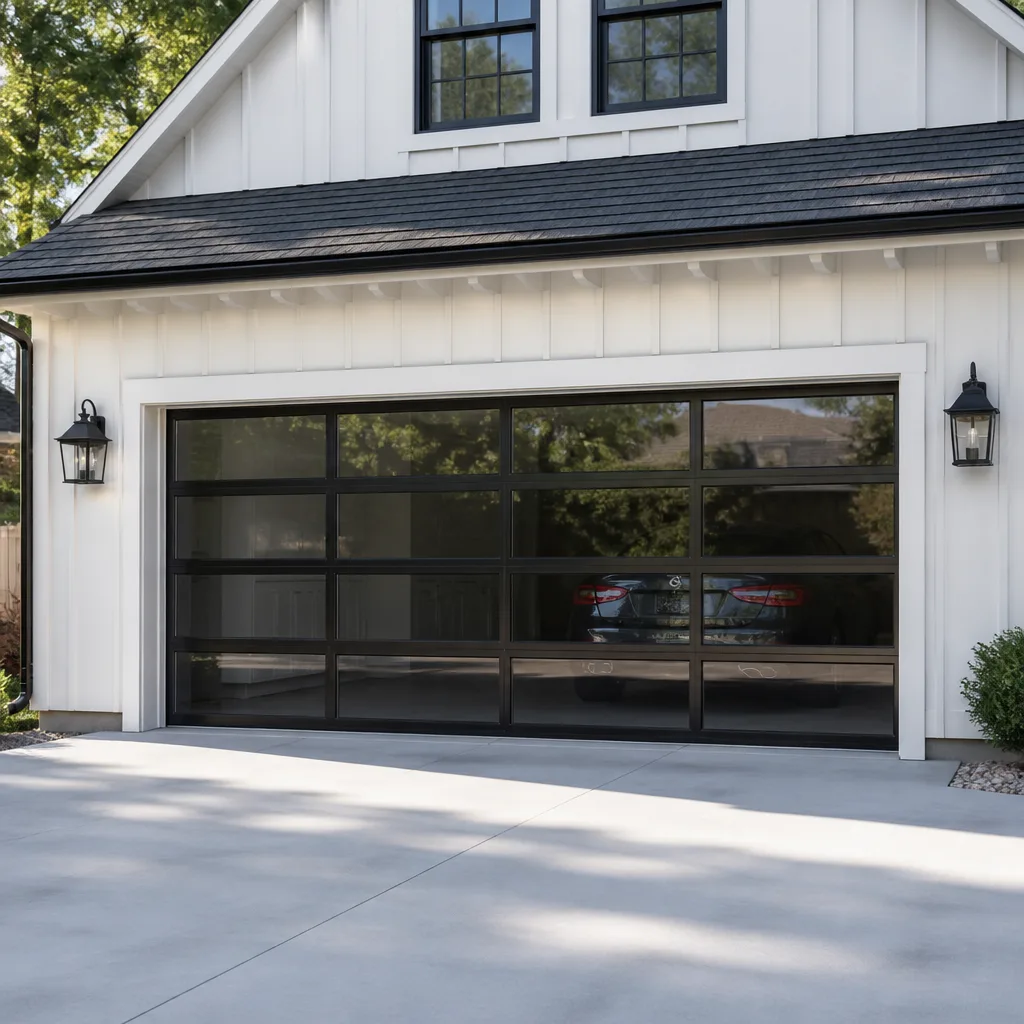 Full-view glass
 LiftMaster openers
 Chamberlain openers
Full 25-point door and opener safety check with every visit - springs, cables, rollers, tracks, and your LiftMaster or Chamberlain opener included
You get a price before we start. It does not change when the pro arrives.
Get your free estimateGarage Door Repair Maintenance Checklist for Old Brooklyn Homeowners
Most published garage door maintenance checklists are useless in one specific way: they tell you to “lubricate moving parts” and stop there. Which lubricant? How much? Which parts should you never touch with a spray can? Nobody says. That vagueness causes real damage. WD-40 on a torsion spring is the single most common homeowner mistake we hear about, and it strips the protective coating that keeps the coils from grinding against each other. A good checklist doesn’t just tell you what to look at. It tells you what you’re looking for, what it sounds like, and what it means for the life left in the part. This guide is written that way, from an Old Brooklyn perspective, with the freeze-thaw damage we actually see around here baked in.
Quick Answer
A working garage door maintenance routine for an Old Brooklyn home means four things: correct lubrication with the right product for each component (never WD-40 on springs), a balance test every few months to judge spring wear, a cable and weatherstripping inspection each season, and a professional safety check once a year. Most of the homeowner-level tasks take 15 to 30 minutes and require nothing more than a rag, a tube of lithium grease, and a can of silicone spray. The high-tension parts (springs and cables) are inspection-only. You look. You listen. You don’t adjust.
Styles & brands we work with
- Raised-panel steel
- Carriage house
- Modern flush
- Full-view glass
- LiftMaster openers
- Chamberlain openers
Table of Contents
- Why a Diagnostic Checklist Beats a Generic One
- The Right Lubricant for Each Part (and What Never to Use)
- The Balance Test: What It Tells You About Spring Wear
- Spotting Frayed Cables Before They Snap
- Weatherstripping Checks for Old Brooklyn’s Freeze-Thaw Cycle
- The Task-by-Task Schedule: Monthly, Quarterly, Annual
- Opener and Safety-Reverse Checks
- When to Stop Checking and Call a Technician
Why a Diagnostic Checklist Beats a Generic One
A checklist that says “inspect the springs” gives you nothing to measure against. You look at the spring, it’s a coil of metal, and you move on. That’s decorative maintenance. A diagnostic checklist tells you that a fatigued torsion spring loses its visible coil gap, that the door gets noticeably heavier to lift by hand, and that the opener starts working harder and sounding different. Those are things you can actually notice.
The same logic applies to every part on the door. A frayed cable isn’t just “damaged.” It has a specific look: broken wire strands splaying out from the braid, often clustered near the drum or the bottom bracket. A worn roller isn’t just “old.” It has a flat spot you can feel with a fingertip. An out-of-balance door isn’t just “annoying.” It’s a spring that’s given up part of its lift, and the test in this guide tells you roughly how much.
We work on the full range of major systems, so we’ve learned that the same failure modes show up across brands. A Craftsman door from the 1990s and a Raynor door installed a few years back both balance-test the same way. The diagnostic method doesn’t change. Only the specific parts and their quirks do.
For a homeowner in Old Brooklyn, this matters because the housing stock is old. Lots of homes here have doors and openers that have been running for years with no scheduled attention, and small problems have been quietly compounding. A diagnostic checklist gives you a way to catch them while they’re still small. If you’re not sure whether what you’re seeing is normal wear or something more serious, garage door repair starts with a proper diagnosis, not a guess.
The Right Lubricant for Each Part (and What Never to Use)
Lubrication is where most homeowner maintenance goes wrong. Not because people skip it, but because they grab whatever is in the garage and spray it everywhere. Each part of a garage door needs a different product, and a few parts should be left alone entirely.
What to use where
- Torsion and extension springs: A light coat of white lithium grease, applied with a rag, not a spray can. Wipe it on thinly once or twice a year. Springs are under extreme tension and are the most dangerous component on the door. Lubricate the coils only, never loosen or adjust anything.
- Rollers (metal): A few drops of light machine oil at the stem where the roller meets the hinge. Don’t soak the roller. A thin film is enough.
- Rollers (nylon): No lubrication needed. Nylon rollers run dry by design. Adding oil attracts grit, and grit wears nylon faster than running dry.
- Hinges: White lithium grease or a silicone-based lubricant at each pivot point. Two short bursts is plenty.
- Tracks: Silicone spray, applied lightly, wiped with a clean rag. Never grease the tracks. Grease catches dust and makes the door sluggish.
- Opener chain or belt: A dedicated chain-and-cable lubricant for chain-drive openers. Belt-drive openers like most modern LiftMaster and Chamberlain units need no lubrication at all.
What never to use
Never use WD-40 on springs. It’s the most common mistake we see, and it’s a real one. WD-40 is a solvent-based product, not a lubricant. It dissolves the factory coating on a torsion spring and leaves the coils running against each other with less protection than before. It also evaporates, so the “fix” lasts a week at best. On a high-tension spring that’s already near the end of its life, that small change in friction can matter.
The same goes for standard greases on door tracks. Grease on a track is worse than no lubricant at all. On an older door where every moving part is a little worn, that difference in friction can be the thing that pushes a tired spring over the edge. If you don’t have the right product, don’t substitute. garage door opener repair and routine tune-ups usually include the correct lubrication, and it’s a lot cheaper than the alternative.
The Balance Test: What It Tells You About Spring Wear
The balance test is the single most useful thing a homeowner can do to judge how much life is left in the springs. It’s also the test most checklists leave out entirely. Here’s how to run it:
- Close the door fully and pull the emergency release cord to disconnect the opener. On most openers, including common LiftMaster and Chamberlain models, that’s the red handle hanging from the rail.
- Lift the door by hand to about halfway. Let go.
- Watch what happens. A healthy door stays put or moves very slightly. A door that drifts down on its own has springs that have lost lift.
- Repeat at a quarter-open and three-quarters-open. A door that sags at one position but holds at another may have one spring of a matched pair failing before the other.
- Reconnect the opener by pulling the release cord again (or running the opener, depending on the model) and test the door with the remote to confirm it’s back on.
What the result means
A door that drifts down slowly has springs doing most of their job but starting to lose tension. Expect to plan for replacement in the next several months, not next week. A door that falls quickly or drops with an audible rush has springs that have seriously weakened, and the opener is now carrying almost the whole door weight. That’s when openers burn out, gear sets strip, and the door starts reversing on its own.
On a torsion-spring door, the balance test is safe because you’re lifting a door that’s designed to be lifted by hand. On extension-spring doors, the springs run along the horizontal tracks and snap when they fail. Inspect them visually only, from a distance.
We never recommend adjusting a spring yourself. Torsion springs carry enough stored energy to injure someone badly. The test tells you what’s happening. A trained technician is the one who does something about it. In Old Brooklyn, a lot of the doors we see on older homes are at the point of needing that call. If you’d rather have someone check, garage door repair can cover a balance check and a written recommendation.
Spotting Frayed Cables Before They Snap
Cables are the part most homeowners overlook. They’re hidden in the tracks, they don’t make noise, and they fail suddenly. But there’s often a warning you can see if you know what to look for.
What a fraying cable looks like
- Stray wire strands poking out of the braid, especially where the cable leaves the drum
- A fuzzy or “hairy” look along one section where strands have broken but haven’t fully separated yet
- Rust spots clustered in one section, which mean moisture has been drawn into that spot and the wire underneath is weakening
- A kink or flat spot in the cable where it’s been riding unevenly on the drum
- Loose or spooling cable at the drum, which signals the drum is mis-winding (this is an immediate stop-using situation)
- Visible slack in the cable on one side of the door, which points to an uneven lift problem
How to check
With the door closed, look along each cable from the bottom bracket up to the drum. Don’t touch. Don’t pull. Don’t try to tighten. Just look. A good flashlight and 30 seconds is all you need. Do this once a month if the door is used daily.
If you see any of the signs above, stop operating the door. A cable that fails while the door is up lets one side of the door drop, which can bend tracks, break hinges, and in the worst case let the door come down. That’s a case for same-day service, not for a weekend project. Modern steel cables fail under immense load when they go.
On any door that’s more than a few years old, we check cables on every service call, whatever brand of system is involved. It’s routine, and it’s the part most likely to be the difference between a small repair and a big one.
Weatherstripping Checks for Old Brooklyn’s Freeze-Thaw Cycle
Old Brooklyn sits in that Northeast Ohio band where winters swing back and forth across the freezing mark. Cycles of freezing and thawing do a specific kind of damage to garage door seals. Rubber gets hard, cracks, and pulls away from its fasteners. Foam seals turn brittle and crumble. The bottom seal that was tight in October can be a ragged strip by February.
What to check and when
- Bottom seal (the astragal): Run your hand along the underside of the closed door. Look for cracks, flattening, or sections where the seal has pulled out of its channel. A flattened bottom seal lets in water and drafts, and it’s the most common issue we see after a hard cold snap in Old Brooklyn.
- Side and top seals: Check the J-channel and weatherstripping along the jambs and header. Look for gaps, curling edges, and sections that have pulled away from the frame.
- Threshold: Look at the concrete where the door closes. Standing water, ice, and small puddles past the bottom seal are signs it’s failing. That water finds its way under the door and into the garage.
- Panel seals and windows: On doors with windows or decorative panels, look for failed seals between panels. Water gets in, freezes, and pushes the panels apart.
- Fasteners: Loose nails or screws holding the seals are common in older doors. A few minutes with a screwdriver resets them.
Timing around Old Brooklyn winters
The best time to inspect weatherstripping is in late fall, before the ground freezes, and again in early spring once the thaw is done. Replacement of a bottom seal is usually a quick job and one of the least expensive repairs you can do. Letting a torn seal stay torn through a hard freeze is what causes water to work its way to the door’s bottom panel and start rust there. On older doors, rust at the bottom edge is a sign that the seal was letting moisture through for a season or two. If the bottom panel has started to pit or rust through, it may be time to look at a garage door installation rather than a repair, especially if the door is otherwise at the end of its life.
The Task-by-Task Schedule: Monthly, Quarterly, Annual
Here’s the schedule we recommend for a door that’s used daily. Realistic times are included because “monthly maintenance” sounds worse than it is. Most months, it’s a five-minute walk-around.
Monthly (5 to 10 minutes)
- Run the door up and down two or three times and listen. Note any new rattle, scrape, or grind.
- Visually inspect both cables for fraying, rust, or slack (look, don’t touch).
- Watch the rollers in the tracks as the door moves. Look for wobble or dragging.
- Test the safety reverse: place a small object under the door, close it, and confirm the door reverses on contact.
- Check the photo-eye safety sensors at the bottom of the tracks for obstructions and confirm the indicator lights on the sensor are steady, not flickering.
Quarterly (15 to 20 minutes)
- Run the balance test described above.
- Lubricate springs (thin coat of white lithium with a rag), hinges, and roller stems with the correct product for each.
- Wipe the tracks with a clean rag and a light silicone spray. Don’t grease them.
- Check the bottom seal, side seals, and top seal for cracks or gaps.
- Tighten any loose hinge or bracket bolts with a wrench (do not touch the springs or spring hardware).
- Check the opener’s manual for the correct chain or belt tension and adjust only if the manufacturer says it’s a homeowner task. When in doubt, leave it.
Annually (professional service plus your own walk-around, 30 minutes plus the call)
- Book a professional safety inspection, especially if the door is over a few years old.
- Do a full weatherstripping pass, plus replace the bottom seal if it’s showing wear.
- Test the opener’s force settings against the manual. Modern smart openers from LiftMaster and Chamberlain usually have app-based diagnostics that will flag a problem.
- Check the opener’s remote batteries and the wall button. Replace as needed.
- Walk the perimeter of the door with a light and look at the concrete and framing for cracks or movement, which can pull the door out of square.
If you want a professional walk-through, our garage door repair Old Brooklyn service covers this kind of tune-up, and it’s usually a short visit.
Opener and Safety-Reverse Checks
The opener gets its own subsection because it fails differently from the door, and some of the failures are dangerous. A door that fails to reverse on contact with an object is a serious safety problem, and it usually gets noticed only when someone is standing in the way.
What to test and how often
- Safety reverse (monthly): Close the door on a small object and confirm the door reverses. If it doesn’t, stop using the door and have it checked.
- Photo-eye sensors (monthly): The sensors at the bottom of the tracks have small indicator lights. A steady light on both means they see each other. A flickering or off light means they need cleaning, alignment, or replacement.
- Force settings (annually): Every opener has a force-adjustment setting. If it’s set too high, the door will crush objects instead of reversing. If it’s set too low, the door will reverse randomly. Follow the manual for your model.
- Manual release (a few times a year): Pull the emergency cord and confirm the door lifts freely by hand. If it doesn’t, the door itself may need service.
- Remote and wall button (annually): Replace remote batteries and test the wall button. If the opener responds to one but not the other, the problem is usually a dead battery or a bad remote, not the opener.
Older openers, especially legacy Craftsman units, often lose their force settings gradually. The door starts reversing halfway up, or stops before reaching the ground, and the fix is usually a minor adjustment. Newer app-connected openers from LiftMaster and Chamberlain have self-diagnostics and will often tell you exactly what’s wrong. Either way, the checklist above is the fastest way to narrow it down.
When to Stop Checking and Call a Technician
Some things are homeowner maintenance. Some things are not. If you see a frayed cable, a broken spring (usually identifiable by the loud snap you’ll remember and the door refusing to lift), or any kind of damage to the torsion hardware, stop operating the door. Springs and cables are under enormous tension, and a mistake with either can cause serious injury. Never try to loosen, adjust, or tighten a torsion spring yourself.
Other signs it’s time for a professional:
- The door reverses on its own, refuses to close, or stops halfway
- The opener runs but the door doesn’t move, or the motor hums without lifting
- Visible gaps between panels or the door is out of square
- A repeated loud bang when the door reaches the top or bottom
- Rust-through on the bottom panel
Garage Door Repair Old Brooklyn offers free estimates in Old Brooklyn. Call (888) 965-4156 and describe what you’re seeing. We’ll tell you whether it’s a quick fix or something bigger.
See the difference
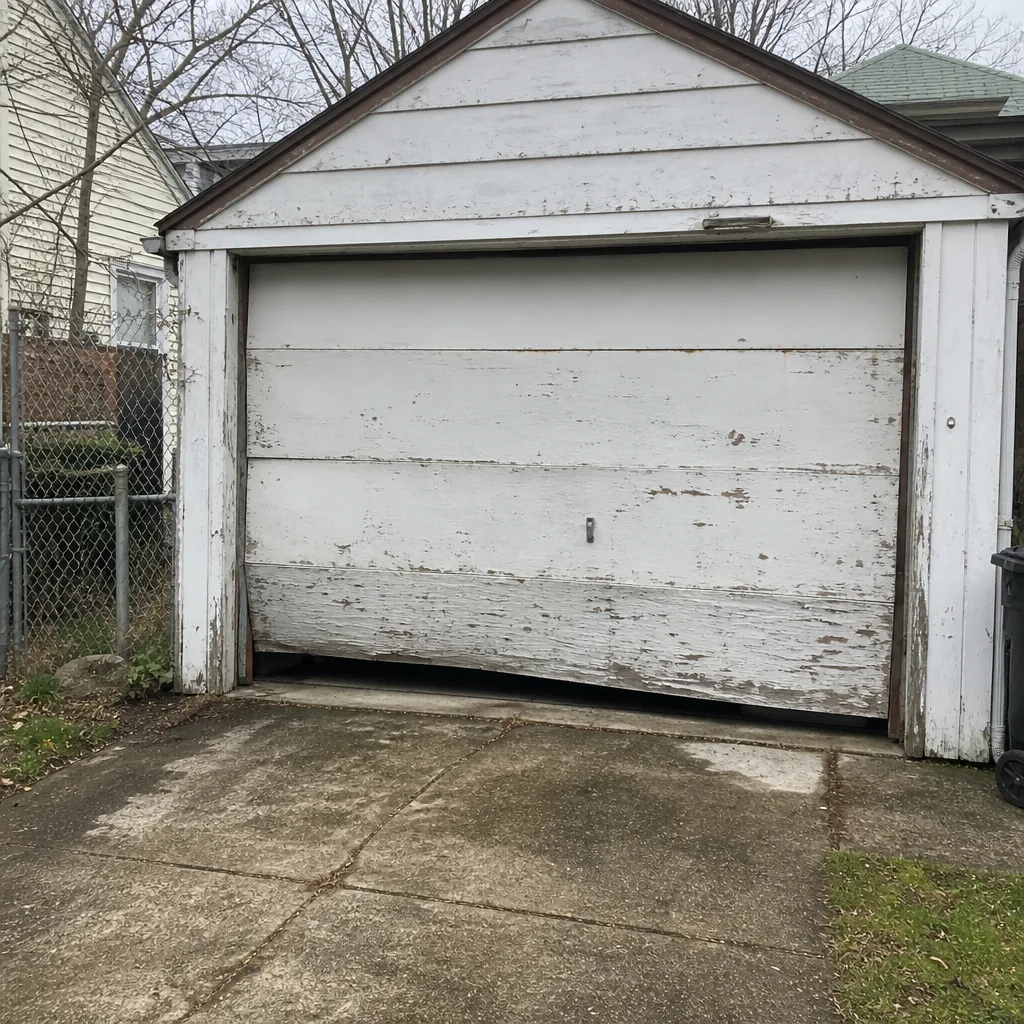 Before
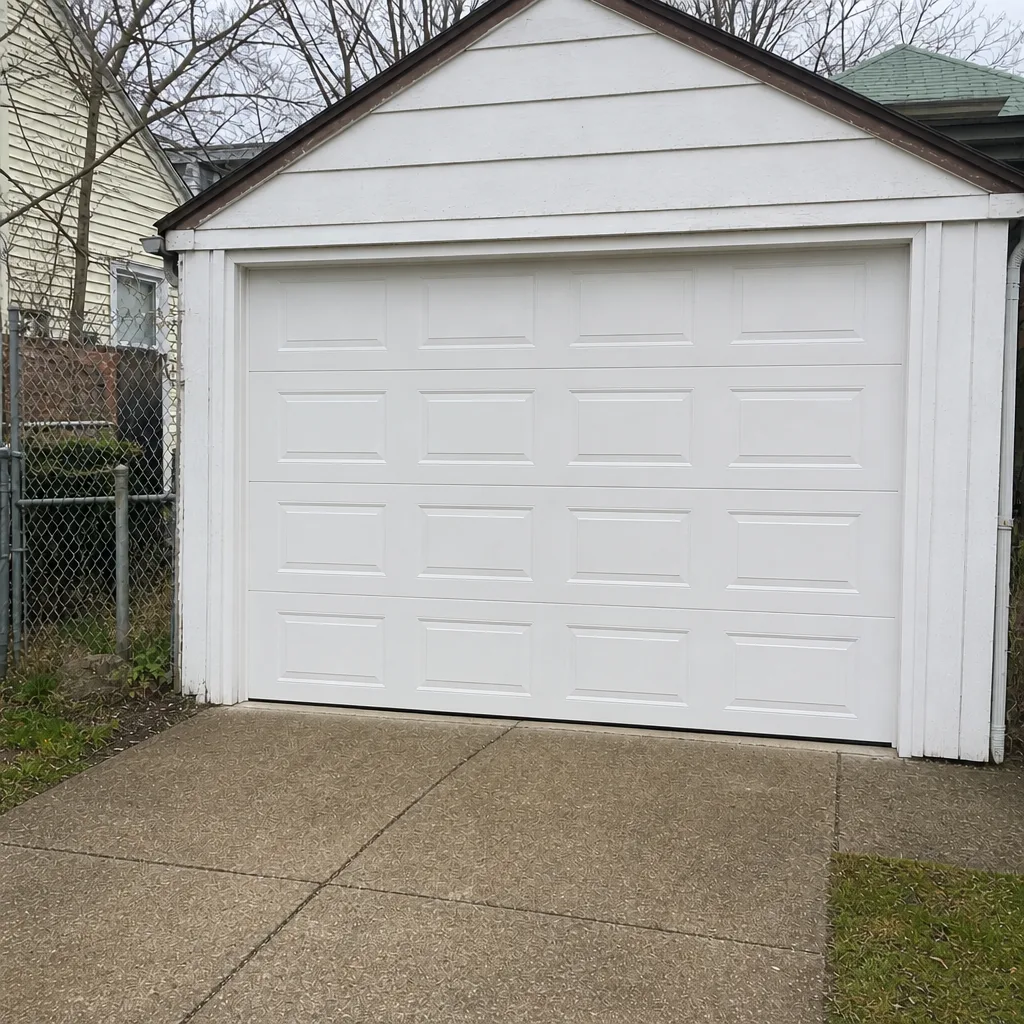 After
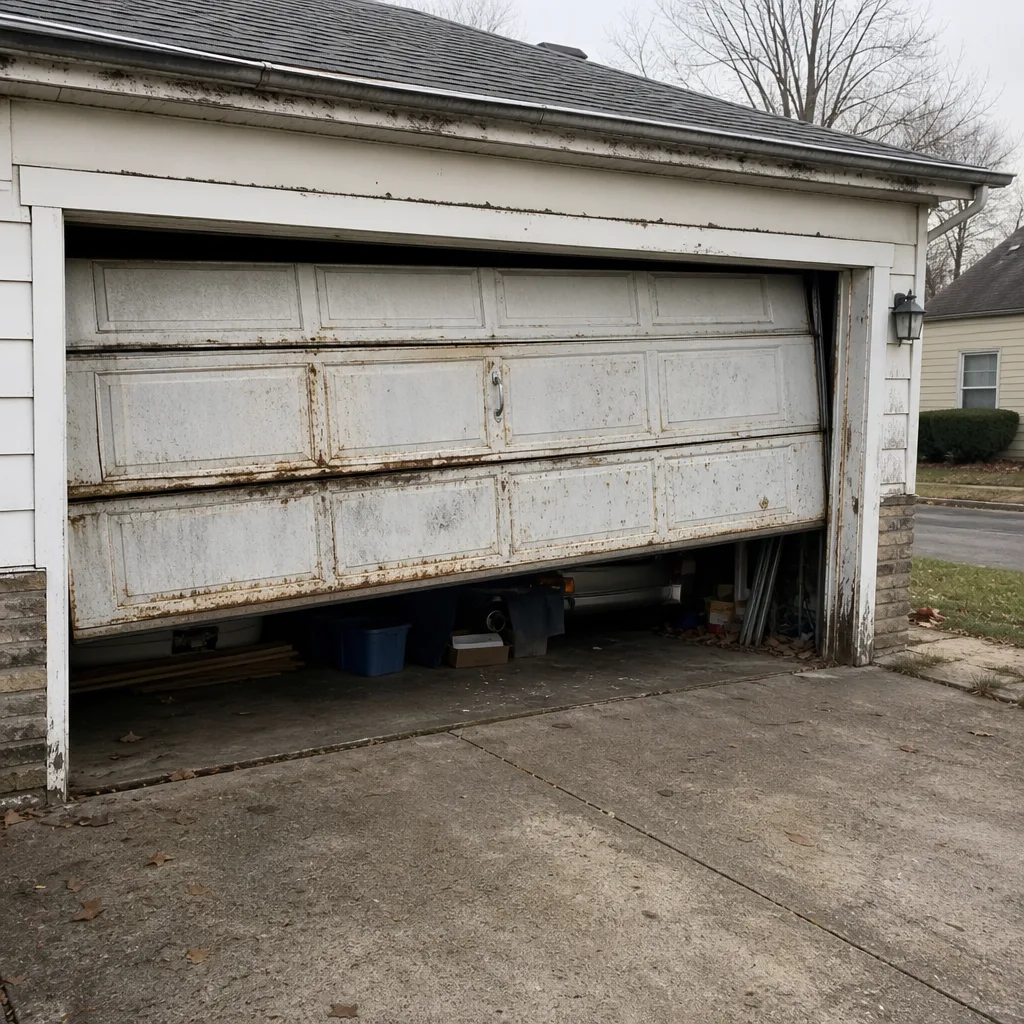 Before
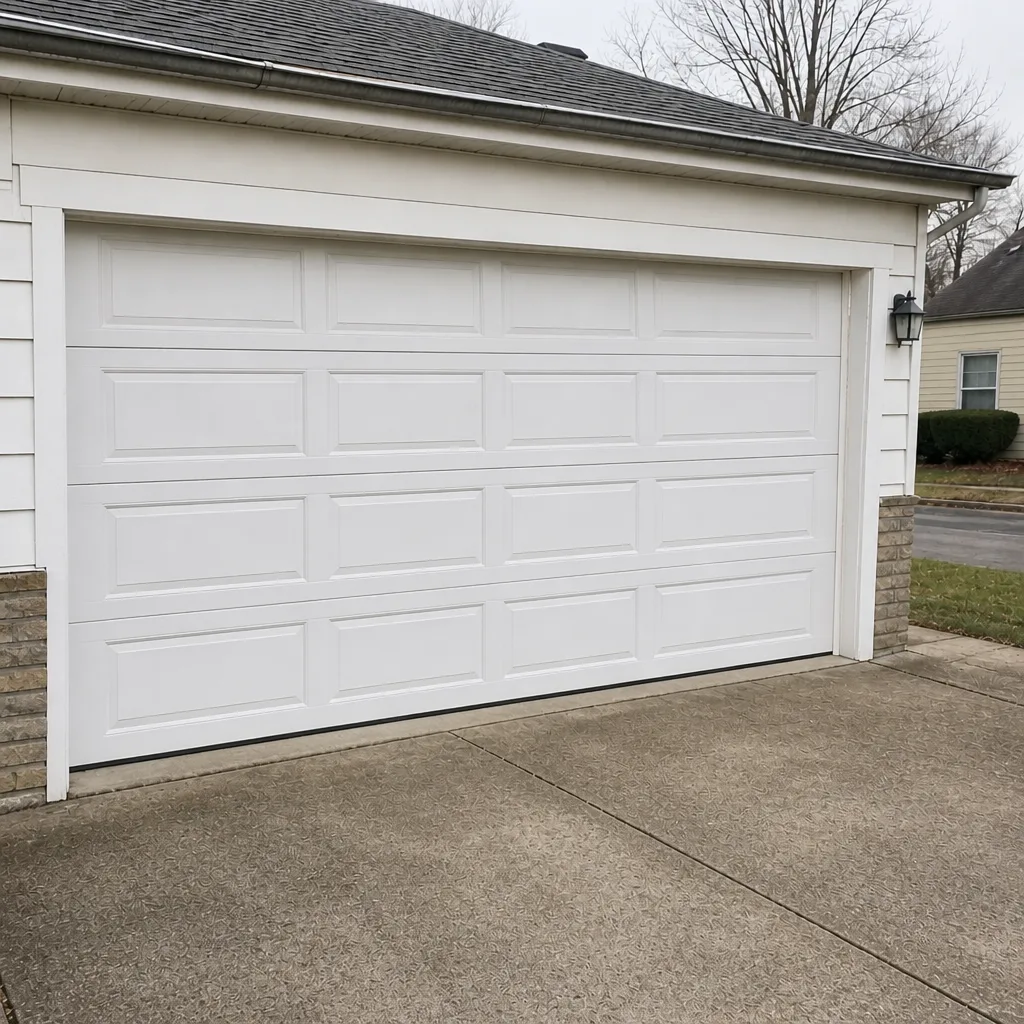 After
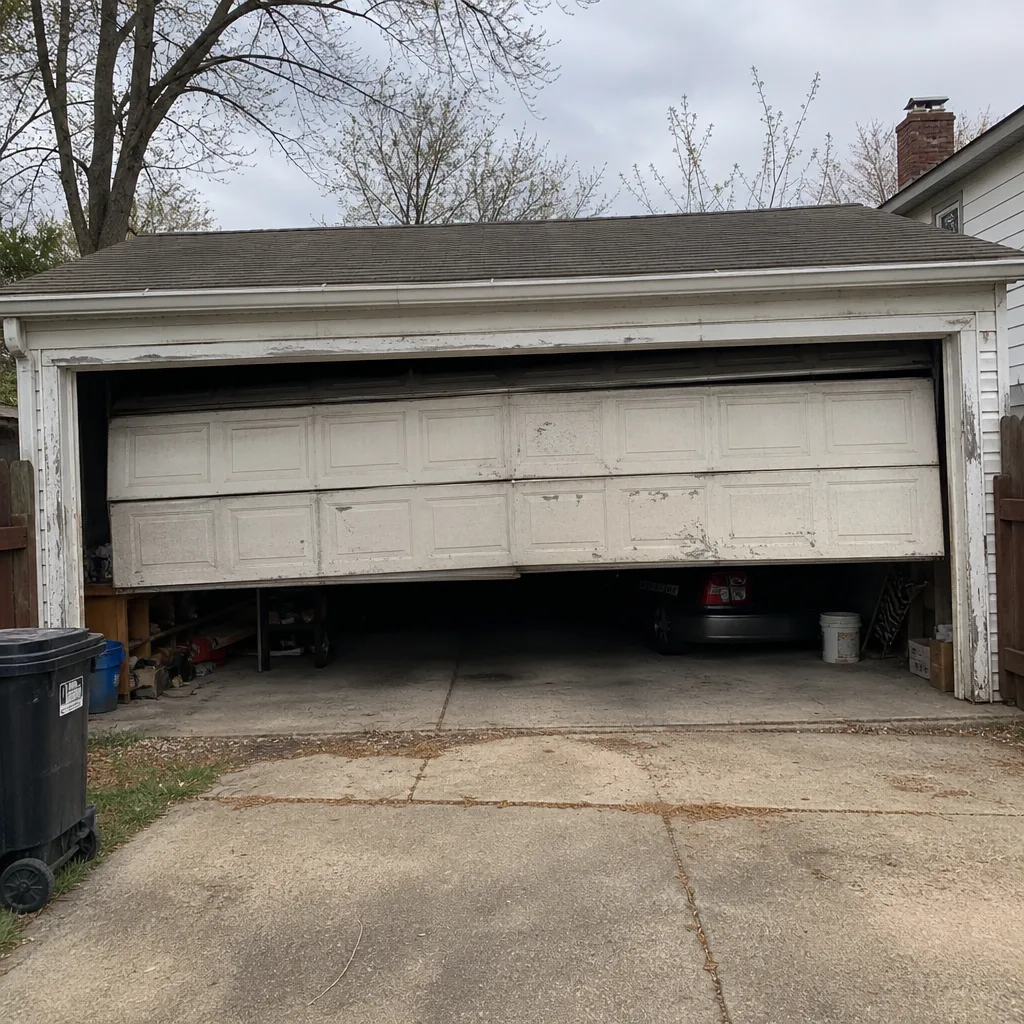 Before
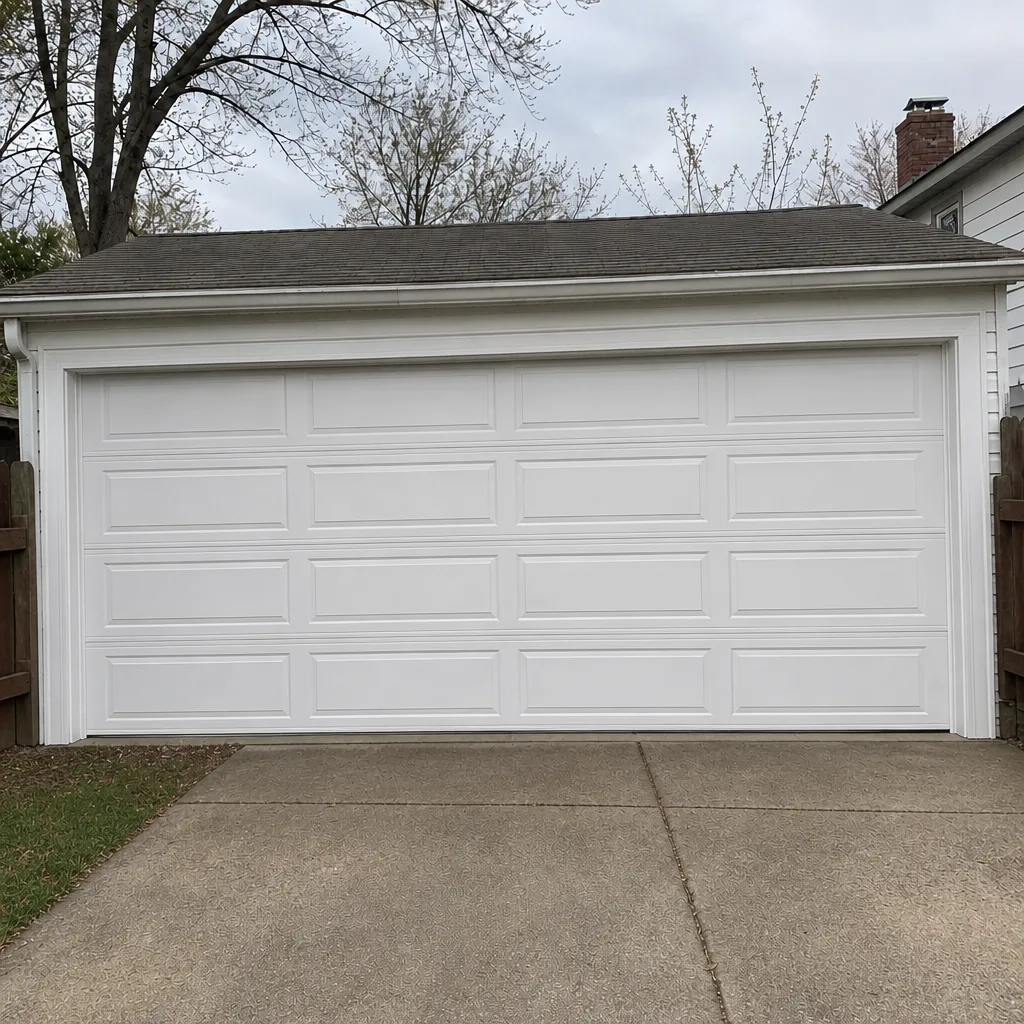 After
Common Mistakes to Avoid
- Using WD-40 on springs. It’s not a lubricant, and it strips the protective coating on torsion and extension springs. Use white lithium grease applied with a rag. Never spray anything on the spring hardware.
- Greasing the tracks. Grease attracts dust and grit. That grit wears the rollers and makes the door sluggish. Use silicone spray, wipe with a clean rag, and don’t over-apply.
- Adjusting the torsion spring by hand. This is the biggest safety mistake a homeowner can make. The spring stores enough energy to cause serious injury. Leave the spring hardware alone.
- Skipping the balance test. It’s the fastest way to know when your springs are close to the end. Ten seconds of lifting the door by hand tells you more than a visual inspection.
- Ignoring the bottom seal in late fall. The freeze-thaw cycle in Old Brooklyn works on weatherstripping every winter. A torn seal lets water into the bottom panel and starts rust that can’t be fixed once it takes hold.
- Replacing the opener when the door is the problem. If the door is stiff to lift or out of balance, a brand-new opener will fail too. Diagnose the door first.
- Tightening every bolt you can reach. Most bolts are fine to snug up, but the bolts at the spring anchor bracket and cable drums should never be touched by a homeowner. Those components carry the entire load of the door.
Frequently Asked Questions
A routine inspection and tune-up is usually an hourly or flat-fee visit, and the price is quoted before any work starts. The specific range depends on what’s found and what needs adjusting. Call (888) 965-4156 for an exact figure. Estimates are free, and the written quote is the price.
No. WD-40 is a solvent, not a lubricant. On a torsion spring it strips the protective coating, and on the tracks it attracts grit. Use white lithium grease on the springs and hinges, and silicone spray on the tracks. If you’re not sure which product goes where, ask before you spray.
Run the balance test: with the door disconnected from the opener, lift it halfway by hand and let go. A door that drifts down is telling you the springs have lost lift. Also look for a visible gap in the coil that’s closed up, a heavier-than-usual door when lifting, or the opener sounding like it’s straining. Springs rarely fail with no warning at all.
The local professionals we connect you with carry licensing and insurance as their state requires. We work across the major brands, so whether your door is a LiftMaster, Chamberlain, Genie, or Clopay system, the technician will know what they’re looking at. Call (888) 965-4156 to ask about a specific system.
Check it every fall, and replace it as soon as you see cracks, curling, or gaps. With Northeast Ohio’s freeze-thaw swings, a bottom seal often needs replacement every few years. Checking in late fall before the ground freezes and again in early spring is the right rhythm for this area.
No. We quote the price and you agree to it before any work starts. If a technician finds something unexpected mid-job, they’ll stop, explain what they found, and give you a new price before continuing. You won’t get a surprise invoice after the fact. Call (888) 965-4156 for a free estimate.
The Bottom Line
A diagnostic maintenance checklist is more useful than a generic one because it tells you what to look for, not just what to touch. The parts that matter most are the ones most homeowners overlook: correct lubrication for each component (never WD-40 on springs), a routine balance test to judge spring wear, a careful monthly look at cables, and a seasonal check on weatherstripping that takes Old Brooklyn’s freeze-thaw cycle into account. Most homeowner tasks take 15 minutes or less. The annual professional check is worth booking if the door is a few years old or if the symptoms above are showing up. One call covers everything from a routine tune-up to a full garage door installation if replacement becomes the right answer instead of repair.
Call Garage Door Repair Old Brooklyn at (888) 965-4156 for a free estimate. We’ll walk you through what we find and tell you what needs attention now versus what can wait.
Written by the team at Garage Door Repair Old Brooklyn.